
Our plum tree gave an abundant harvest last year, and we shared some with an older woman whose tree had been robbed. She thanked us with sourdough starter, so I have finally gotten around to writing about how I make the bread…
First and foremost, I did not create this recipe. Below is where I summarise how I go about Emilie’s (Clever Carrot) sourdough bread recipe. Emilie provides amazing guidance for beginners, as well as recipes and a shop. Please visit her page: https://www.theclevercarrot.com.
So I have made a few videos for the people I know. They are available in Youtube links below…
Feed your starter in the early am or after dinner:
- Take starter out of the fridge for 1 hour
- Weigh out all your starter.
- Add an equal weight of warm previously kettle-boiled water to it stir and incorporate completely.
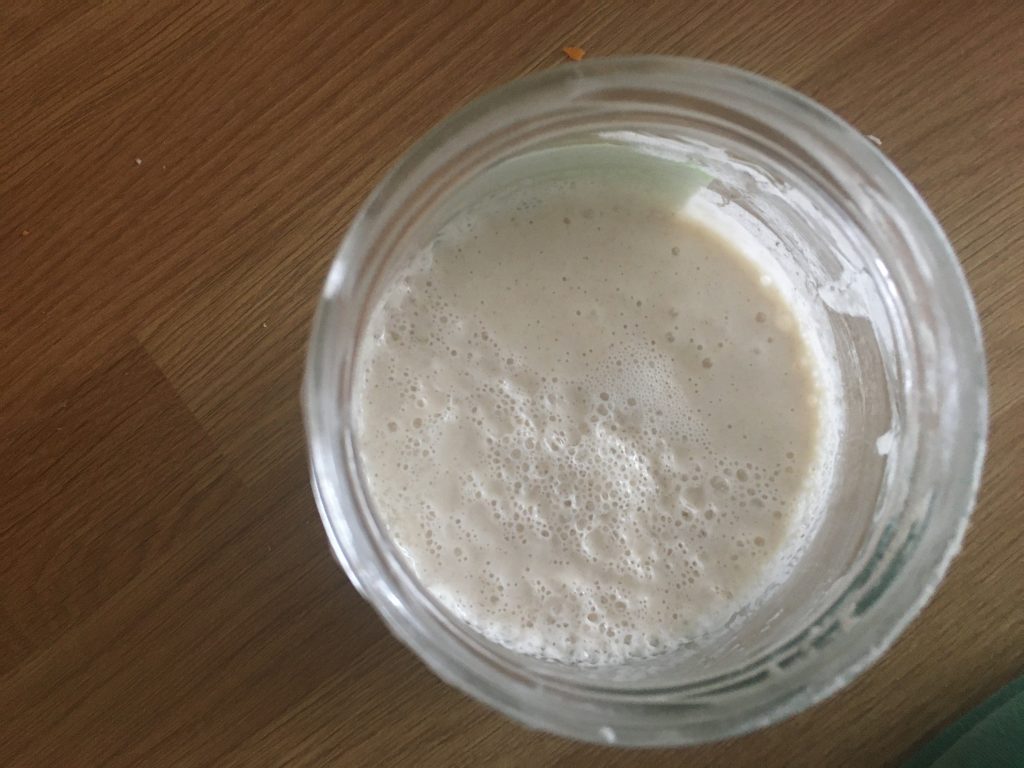
- Add the same weight of bread flour (strong flour), stir to incorporate until there are no lumps and you start to see large bubbles coming through.
- To review. Let’s say you have 345g total starter. Add 345g water to that, stir and incorporate. Then add 345g bread flour to the water mixture, and stir until there are no more lumps, but there are big bubbles coming to the surface.
- Now your starter has been fed, put at least 175g of that into a jar with a tight lid. After 1 hour, put that back in the fridge and feed it again in 7-10 days.
- Leave the rest of the starter in a bowl, covered with a lovely reusable beeswax wrap for 8 hours or overnight. We will use this to make the bread.
Here’s a very long video of me feeding starter. It doesn’t usually take so long, but I have children, and they are not able to attend nursery today. If you ever ask someone with children what takes them so long, just watch this video to understand.
Make your dough later that night, or first thing in the morning…
- To make the bread: first test your starter. Fill a separate cup with water. Take a teaspoon of starter out of the bowl and drop it in the water. If it floats, the starter is ready. If it sinks, you need to feed again and wait.
- Bread recipe: Gather your bread flour (500g), olive oil (25g), some salt (10g, I use sea salt, table salt will lead to a saltier loaf), and water (250g). You will need a large bowl, a clear one is best.
- Weigh out 175g of your starter in a bowl.
- Add 250g water (previously boiled kettle water, but cooled down to slightly warmer than room temp is best) to the bowl, and whisk.
- Add 25g olive oil, whisk again.
- Stir together 500g of bread flour and 10g of salt.
- Add the flour/salt mixture to the wet mix.
- Incorporate (I just use my hands to make sure the dough is all wet and everything is mixed well. The dough will look and feel dense and rough at this point.
- Leave your dough to sit for 30min-1hr in the bowl, covered.
- After it has rested, take your dough and form a smooth ball with it.
- Leave this dough in the bowl, covered, to rise until it is 1.5-2x in size. This takes anywhere from 4-8 hours depending on the weather. If I feed the starter in the morning, I leave the dough overnight. If I feed the starter in the evening, I make the dough in the morning and we have fresh baked bread at dinner around 6pm.
Forming the loaf after your dough has risen:
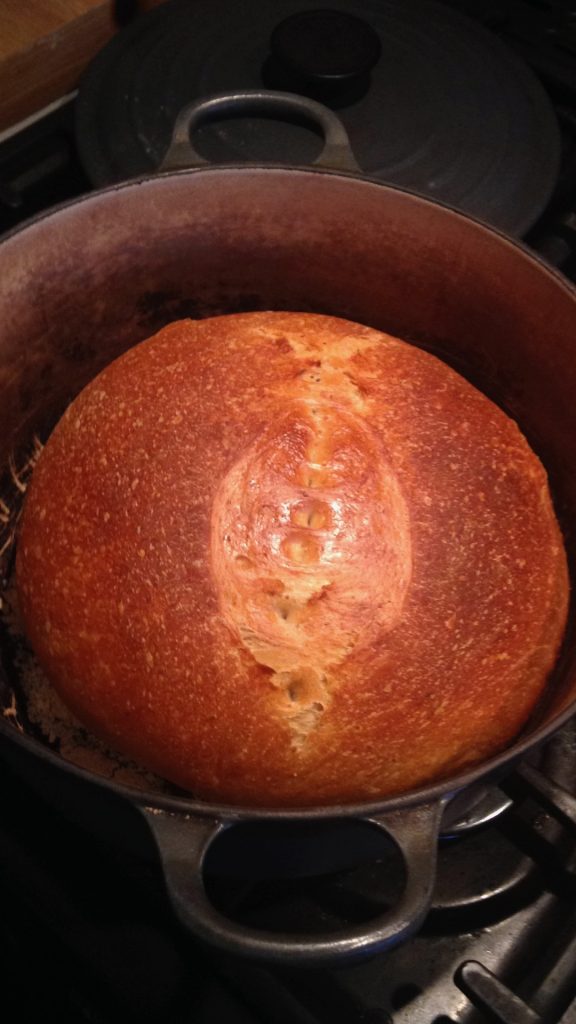
- Prepare your cooking dish. I use an old large Le Creuset, but any casserole dish with a lid works fine for this recipe. you can also make a loaf and bake it freely on a baking tray, but the texture of the crust is different depending on whether you keep the bread covered, and whether you open the door for the last 10 minutes of baking. I use cornmeal in the bottom of the casserole dish to prevent sticking because I also like the texture that bakes into the bread.
- Dump your dough out and form a loaf. You can split the dough, etc now.
- Put the dough into the cooking dish, cover, and let it rise for up to 2 hours.
Here is a short video demonstrating how I make my loaf:
- After 1-1.5 hours I preheat the oven to 230C.
- Before you bake, make a 2 inch cut in the middle of the top of your dough.
- Cover, and pop it in the oven, then reduce the temp to 200C. Bake covered for 20 minutes.
- After 20 minutes, remove the cover and bake for another 20 minutes.
- Bake for another 10 minutes uncovered. Check for doneness.
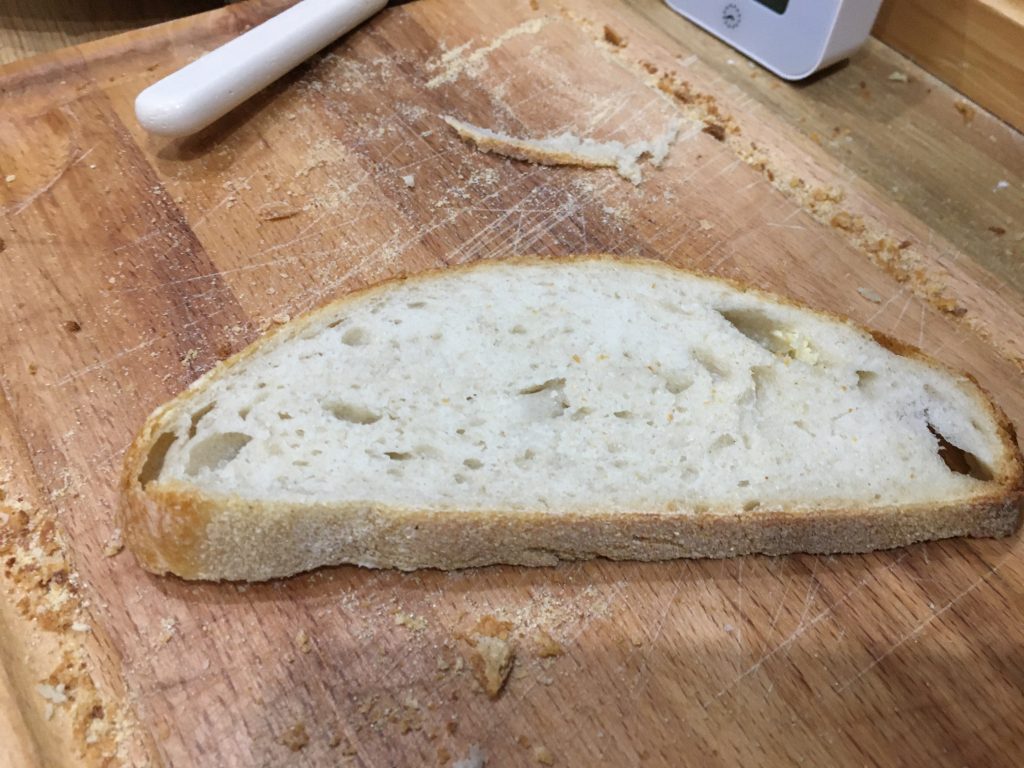
- If you want the chewy traditional sourdough crust, you have 2 options: 1, take the bread out of the dish and bake it on the rack directly in the oven, with the door cracked. You can also leave in the oven with door cracked for a chewy, but not quite as hard crust. If you don’t want that kind of crust, just take the bread out of the dish and tap the bottom. If it is a hollow sound, let the loaf cool and eat it. Not all at once. I mean it, not all at once. Ok fine, next time just bake 2….
If you find yourself with way too much starter, here are my favourite recipes:
Flatbreads: These are so simple and easy, delicious, versatile, best way to use the starter without waste: https://www.farmhouseonboone.com/easy-sourdough-flatbread
Pizza dough: I usually make a few dozen dough balls and freeze them every few months for easy meals at home with the kids: https://www.theperfectloaf.com/sourdough-pizza-dough-and-recipes/
Pancakes: This is a lovely recipe for pancakes. I make 2 changes: I never, ever, put sugar in my pancakes (In case I want to make sandwiches with them later). I also use melted butter instead of vegetable oil. Otherwise, make a few dozen of these, freeze what you don’t eat, and you can take them out and microwave them for about 20 sec for an easy, delightful treat whenever you want: https://www.tastesoflizzyt.com/sourdough-pancakes/
Pretzels: Also ideal for freezing after baked, or you can freeze the dough and use it later. I use 1/2 a cup baking soda, not 1/3 to boil, but otherwise this is a tried and true recipe: https://www.baking-sense.com/2018/01/09/sourdough-soft-pretzels/