Lemon Chiffon Birthday Cake

Unicorn cake made for my daughter’s 1st birthday. Horn and ears are marzipan. Decoration is vanilla buttercream. Lemon zest fondant base.

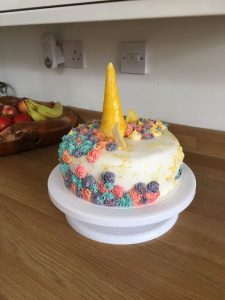
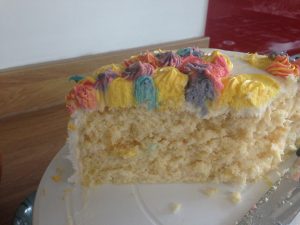
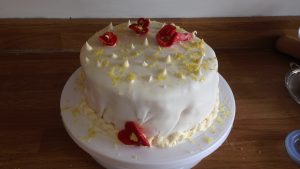
My husband loves lemons and cake. He had a birthday and asked for a lemon cake… again. Last year I made a lemon madeira which was a bit heavy for the occasion. This year I went with a lemon chiffon, layered with lemon curd and vanilla butter cream icing, then finished with a paper thin lemon zest fondant . That was last month. Now this month my daughter turns 1, so I am tweaking and posting the recipe.

I have separated the ingredients list below into the major 3 cake components, in case you want to use store-bought curd or do this in steps (as I do with 2 little ones). The  methods below walk you through the entire process from start to finish.  I basically just wrote this up as I did it. Sorry if anything “too basic” is left in, or some details are left out. Feel free to contact me with comments/questions. Basically, you make the lemon curd (can do up to 2 weeks in advance). While the lemon curd chills, make the cake.  While the cake cools, make the frosting.

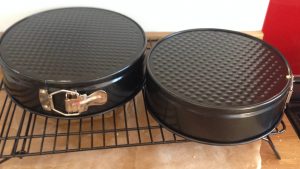
You will need a dozen medium sized eggs and 5 good sized lemons for this recipe. Make sure your eggs are at room temperature. You can zest and juice your lemons ahead of time and freeze if you are making this out of season. I would estimate that each large lemon yields about 4-5 heaping teaspoons of zest and 3/4 cup of juice. I used one 22 cm and one 24cm  baking tin for this recipe. This way I can shave off a bit and have a cake pop ready for the family to eat almost immediately. Do not grease your baking tins because the chiffon needs to be able to stick to the sides to get the desired rise.

Original lemon chiffon cake made for my husband’s birdie Fondant flowers were an epic fail, but I’m still learning.

Ingredients

cake
8 medium eggs, separated

2 cups pastry flour (yes, use pastry flour not all-purpose)

1-1/2 cups caster sugar

3 teaspoons baking powder

1 teaspoon salt

1 large lemon (zest, pulp, and juice)

1/2 cup rapeseed oil

2 teaspoons vanilla extract

1 teaspoon cream of tartar
lemon curd
4 large lemons, zest, pulp, and juice

200g caster sugar

100g butter

4 eggs, slightly beaten
FROSTING
250g salted butter, softened to just spreadable

500g icing sugar

2 teaspoons vanilla extract

1-3 Tablespoons milk

Method

Lemon curd

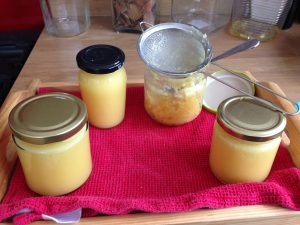
  1. Put four 200ml jars and lids in the dishwasher on a rapid, hot cycle to sterilise them.
  2. Zest and juice your  lemons into a medium heatproof bowl. Reserve about 3/4 cup juice/pulp and 4 heaping teaspoons zest together in separate small bowl to use later for the cake.
  3. Add butter and sugar to the bowl of lemon juices, zest, and pulp.
  4. Add about 1 inch of hot water to the bottom of a heavy saucepan. Put bowl on top of the saucepan to make a double  boiler. Make sure the bottom of the bowl does not touch the water.
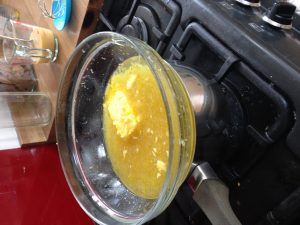
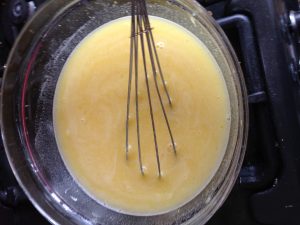
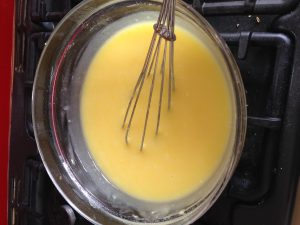
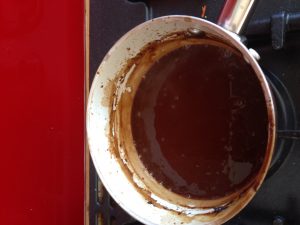
  5. Heat the mix stirring occasionally until the butter has melted, then mix thoroughly. Slowly pour in your slightly beaten eggs and continue to whisk slowly for about 10-15 minutes until thickened like custard.
  6. Strain lemon curd into jars. Save the pulp/bits in a jar, as that will be delicious on toast, as well. Give one jar to a neighbour. Keep one full jar of lemon curd for next week, eat your jar of pulp, and save one for the cake. When cool you can keep them in the fridge for 2 weeks safely. Great on toast.
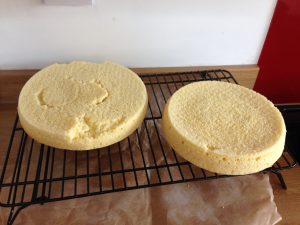
Lemon chiffon cake

  1. Preheat your oven to 170C degrees (Gas Mark 3, 325F).  Do not grease your pans. 
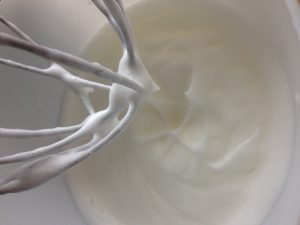
  2. Separate your eggs and put your whites into the bowl of a stand mixer. Add cream of tartar. Once the whites are at room temperature, beat on medium until they form peaks and are stiff, but not dry. Scrape sides from time to time or  you may end up with a pool of egg whites. This step can take up to 30 min, so do the rest of the prep and come back to the egg whites later.
  3. Sift together pastry flour, baking powder, and salt 3 times.
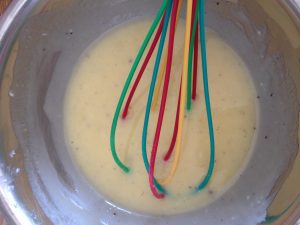
  4. Beat your yolks with a hand whisk, add sugar, oil, lemon juice/pulp/zest, and vanilla. Beat until smooth.
  5. Slowly sift your dry mix into this egg yolk mix and beat until well combined.
  6. Fold your egg whites into the cake mix gently, starting with 1/4 of the egg whites, then then next 1/4, and so on. Incorporate these two mixes carefully for the best result.
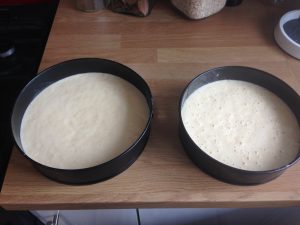
  7. Gently spoon mix into ungreased baking tins. Tap tins on the counter lightly to remove any air bubbles. Cook on the bottom rack in oven for about 40minutes.  When done cake will spring back lightly when touched in the centre.
  8. Immediately turn cake over onto cooling rack and leave in tin to cool. Cool at least 1 hour before removing from tin.

Vanilla buttercream frosting

  1. Let your butter come to room temperature until just softened.  Do not allow it to become over soft/almost runny. It needs to still hold shape, but be just spreadable with a knife. 
  2. Beat butter with icing sugar and vanilla until smooth. Add milk to reach desired texture.

Cake Assembly.

  1. Put one cake on the serving dish.
  2. Make a little dam out of buttercream on edge of cake.
  3. Fill dam with  lemon curd.
  4. Pipe a layer of butter cream on top of lemon curd.
  5. Place second cake on top. 
  6. Cover the entire cake and top with a thin layer of butter cream.
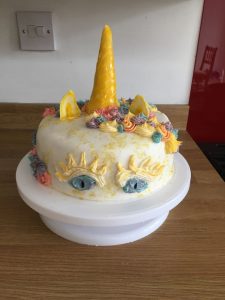
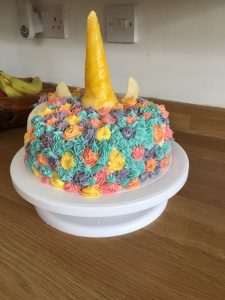
  7. Move cake to fridge for 30 minutes, then remove and decorate as you wish.

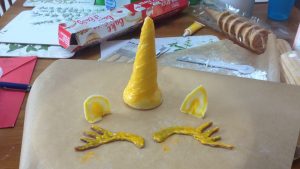
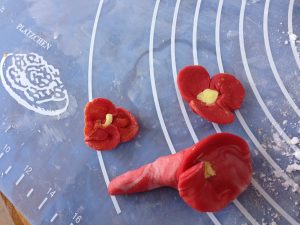
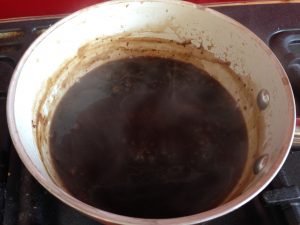
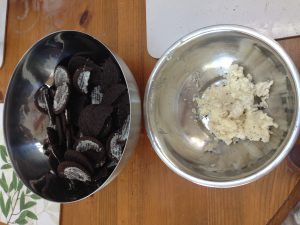
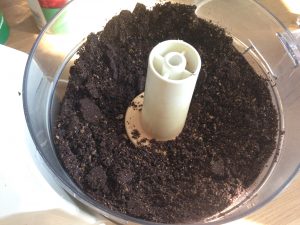
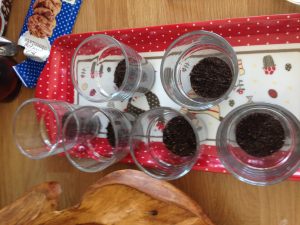
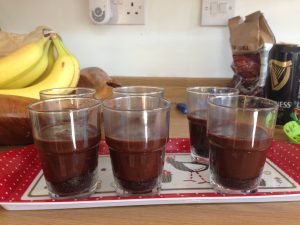
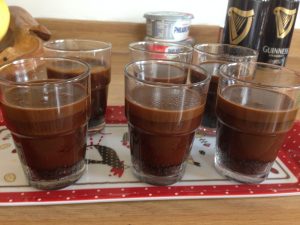
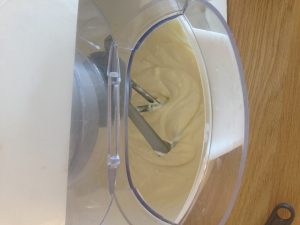
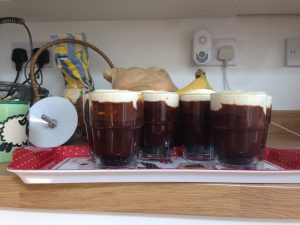
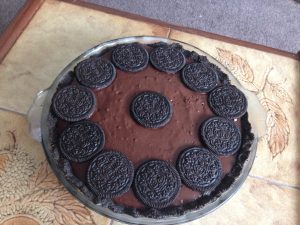
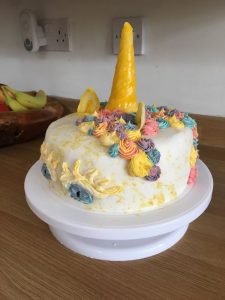
Pictures – In case they help

These are all the ingredients for the lemon curd
Double boiler set up.
After eggs are slowly added the lemon curd looks like this
When ready the lemon curd will have brightened in colour and thickened in texture.
This recipe makes a good haul because people like to have lemon curd around for eating. Also good to give to neighbors/colleagues.
Assemble horn and ears separately. I also made eyelids, which my son ate during assembly.
Egg whites should be at least this stiff.
Left hand cake has been tapped lightly to burst air bubbles. Cake on right has not. Do not over tap.
After cooking turn onto cooling rack in the tin.
Fill in any holes with buttercream.. trust me.
Royal icing flowers. My sculpting needs work.
Full frontal of unicorn
The back mane shot.
Side shot. If I make this again I will definitely take more time with decorating. Perhaps by 3rd birthday.

Guinness Cheesecake

Perfect for 2 people to split or one human adult who loves Guinness.

Not terribly long ago I bought soft (cream) cheese on sale and then needed to do something with it. I asked my husband whether he’d rather have the good old trusty fruity cheesecake he loves (that I also make into an ice cream)… or  trust me to experiment. The result was a guinness “cheesecake”. It is no bake, so not the real NY deal.. but this is a great dessert if you love Guinness and want to have a surprisingly light, smooth, bitter treat.

This recipe is really easy. I basically make an Oreo crumb base, a Guinness and dark chocolate pudding, a coffee and milk chocolate pudding, and a vanilla no bake cheesecake. I layer in that order. I am sure it can be tweaked or improved, but this is a good start. Feel free to add your suggestions in the comments!

Guinness “Cheesecake”

Ingredients

1 can of Guinness, at room temperature
1 can of sweetened condensed milk
550-600g cream cheese 
50g unsalted butter
150g milk baking chocolate
2 tubes of Oreos
3 digestive cookies (or hobknobs or graham crackers)
2 Tablespoons of cocoa powder
2 Tablespoons of cornflour (cornstarch), separated
2 Tablespoons instant coffee
1 Tablespoon vanilla extract
Notably, I do not add sugar to this recipe. The dessert is for people who like Guinness. If you like sugar then add some to Guinness as it cooks. You freak.

Method

  1. Bring Guinness to a boil in saucepan, then turn heat down and simmer for 5 – 10 minutes. In the meantime do the steps below.
  2. Separate your Oreos into two bowls. Grind Oreo cookie portions and your other 3 cookies in the food processor until they are like coarse bread crumbs. 
  3. Melt butter in microwave, then pour into oreo cream filling and mix until smooth. Pour this back into the crumbs to make your base. Fill the bottoms of your dish with this base.
  4. Measure 2 TBLS of heated guinness out into a small bowl. Add 1 TBLS of cornflour and mix until smooth. Add this back into the saucepan, turn up the heat, and whisk until smooth and thickened.
  5. Pour your cocoa powder into a medium mixing bowl. Pour thickened Guinness over that and whisk until smooth. Now pour this mixture into the serving dish. Let this cool until set (30 minute in freezer, after coming to room temperature if in glass dish).
  6. Break up the milk chocolate into that same mixing bowl once emptied.
  7. Make a strong cup of coffee (or in the saucepan heat 200ml water and instant coffee until hot). Reserve 2 TBLS hot coffee and mix with 1 TBLS cornflour in separate container.
  8. Let coffee cool slightly then pour over milk chocolate and stir until smooth. Pour coffee mixture back into saucepan, add the cornflour/coffee mixture, turn up heat and stir until just thickened. Remove from heat.
  9. Once the Guinness layer is set, pour coffee/chocolate layer on. Let this set and cool (20 minutes)
  10. Beat cream cheese with sweetened condensed milk until combined and slightly thickened with soft peaks. Add vanilla and beat for 30 seconds more.
  11. Pour this on top of the other layers in the dish. Let it cool and set.
  12. EAT.

Pictures (in case they help) 

These tiny glasses are £1 for 6 at Ikea.
Guinness gravy… Once thickened this will set when cooled.
I would keep in mind that a few of these will be consumed during the separation process by husband and children.
Delicious with spoon.
Whisk the butter into the oreo cream until well blended.
tap it in to the bottom.. don’t be stingy.
Pour Guinness layer in next. Make this the bulk of the pour for best flavour combo.
The milk chocolate coffee gravy looks like this.
Pour coffee chocolate on, let it set.
No bake cheesecake should look roughly like this when ready.
I enjoy smaller cheesecake layer, as it is heavy, and the other layers are lighter, so you really just want to have a tiny bit of the sweet cheese to finish the other layers per bite.
This recipe fills a traditional pie dish quite nicely, but my husband’s main complaint the first time around was presentation.I also added the coffee layer the second round to get a better gradient in colour, and a complementary flavour to the bitter guinness and sweet cheesecake. It works better with the coffee/milk chocolate but you can leave that layer out if you need to.
These layers are soft but will set and cut cleanly if you let them cool before pouring, which is hard to do because it requires patience.

Food blog

I am currently working on a cookbook that is designed to increase efficiency/ sustainability… and decrease waste… in a family household. Until that is ready to go, I will share a few favourite recipes in this blog.

Here’s my happy son with an apple cake.

This cake is iced with crab apple sauce made by pureeing and straining cooked whole crab apples. The cake itself is a spiced apple cake, which can also be made with scraps (peels and offcuts) after making baby food.